 |
| Before |
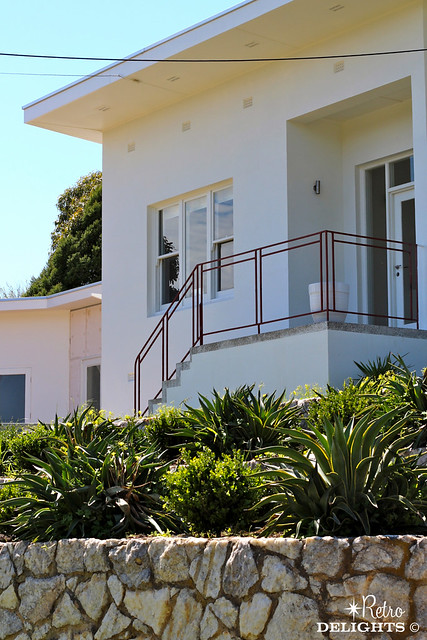
Living near the beach, it was obvious to me that perhaps the cliche of a blue door wasn't such a bad idea. Kind of made sense considering our exterior walls are the colour of a sand dune! So a beachy colour with a retro twist was in order...
 |
| After |
We are very very happy with the results. First impressions - looking mighty fine I say!
We had the best day yesterday. After 4 months of narrowing down a date we had our photo shoot for a feature spread in interiors magazine Inside Out. There is nothing like having an incentive like this to get a few extra things done around the house!
Actually, it was epic what we achieved in those 4 months. We managed to finish our bedroom, the hallway, the stairs (which took 6 full days), plus 24 hrs before the shoot we decide to pull up the carpet in the Messagemark studio and paint all the window sills. And of course then there was the cleaning along the way.
Denis and I are exhausted but we are feeling rather pleased with ourselves, and had so much fun in the process. So all worth it! (More detailed posts to follow on each room)
 |
| Sneaky snap of Jacqui the talented Photographer |
 |
| All happy with the composition! |
So what does a photo shoot involve? Well, a stylist and photographer spend a full day setting up, composing and capturing the best possible angles in the best possible light. Luckily our home has heaps of natural light and lots of 'retro delights' to use as props, so Rebekah and Jacqui were happy with what they had to work with.
 |
| An eye for design, Rebekah the Stylist sorting out the props inc. Denis! |
Even Hestor our cat had an important role. It was very funny trying to get him to sit in a certain spot, or lie a certain way on the couch while enticing him with cat biscuits!
 |
| Hestor our official Model |
Then there were the portraits of us standing at our newly painted exterior door, and a couple more pics of us sitting in the lounge sipping empty cups of 'tea'. (Scullery Made of course). Oh, and the one of Denis cutting fruit in the kitchen was rather sweet! It will be interesting to see which photos they end up using.
I now have to do an interview over the phone for the feature story and it is likely to be published in May/June of next year. So a lengthy process overall!
 |
| The Team - the Stylist, Tea Maker and Photographer! |
I learned so much and thank both Jacqui Way (Jacqui Way Photography) and Rebekah Cichero (of One Small Room) for allowing me to hang out while they wove their magic around our place.
This is going to be the most anticipated magazine in all of history!!!! A big personal design achievement for me too!
Toodle-pip!
 |
| $1 Reserve - "Three Chairs" |
Anyway, when I placed my auto bid, there was one other bidder and so the bid climbed to $25 with me being in the lead. So it appeared the other bidder didn't plan to go too high.
I had 6 whole days to wait for the auction to close, which felt like a lifetime, and anything could happen in that time! I decided to send a cheeky message to the seller asking if they would consider a buy now, but also made it clear that it was totally cool if they preferred the auction to simply run its course.
I was on such a high, so so excited, and just couldn't believe my luck. Not just one Featherson, but three. The listing description basically said "3 chairs taking up space in the shed, need to make some room"...No key words like "retro" or "vintage" or "Featherson", so few people would pick up on this listing...
Then within about 5 minutes my elated feeling suddenly turned to confusion and absolute despair. There was no reply to my message and THE LISTING HAD DISAPPEARED! After checking again and again, the listing had been removed. I sent another message to the seller asking if the chairs had sold, and again no reply.
So I spent the rest of the week pining over the chairs and wondering what happened to them. Maybe the seller also had them listed on Gumtree or elsewhere, hence the sudden removal of the listing.
I only hope they have gone to a good home full of people who will love and adore them forever!
After this eBay disaster I really felt like I had been on a mad emotional roller coaster, and it has taken me this long to recover before I could share this tragedy with you!
Sad face!
*Grant Featherson (1922-1995) was the genius behind this chair design. Self-taught, he produced the first of his famous plywood shell Contour chairs in 1951.
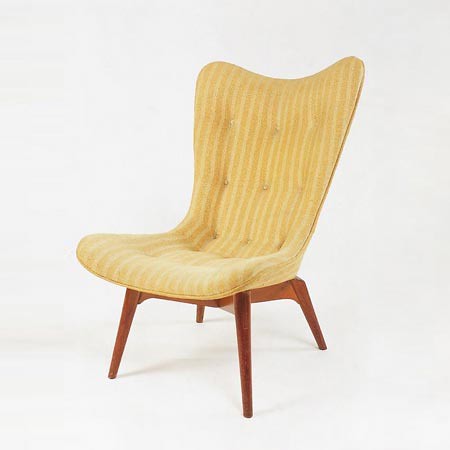 |
| R152 Contour chair by Grant Featherston. (Image Source MidCenturyJo) |
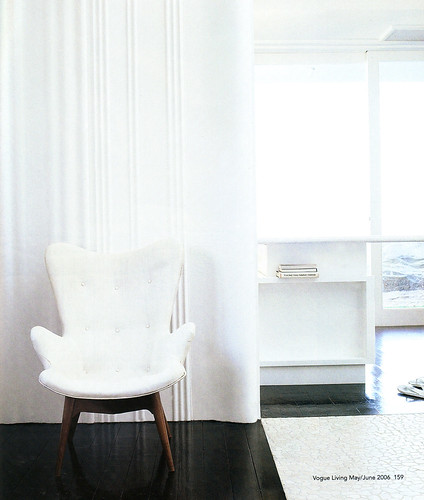 |
| R160 Contour chair by Grant Featherston. (Image Source MidCenturyJo) |
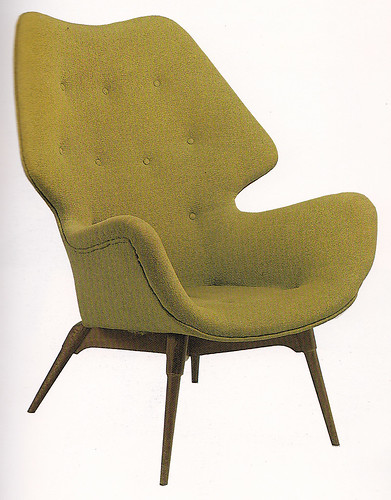 |
| B230 Contour Chair. (Image Source badass mustache) |
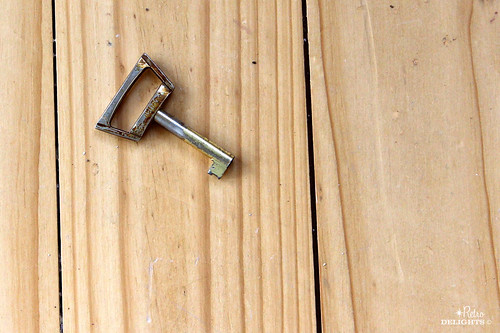 |
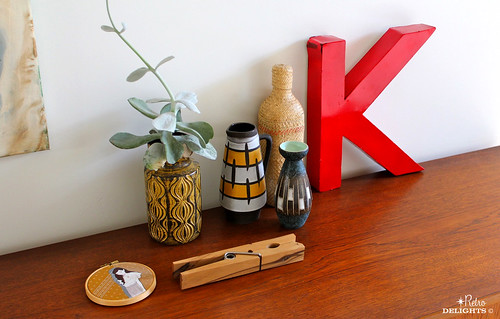
| The Key |
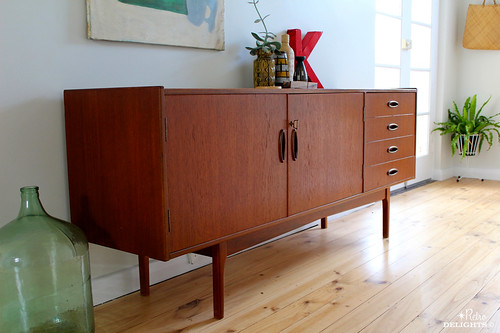 |
| Original Fler Teak Sideboard |
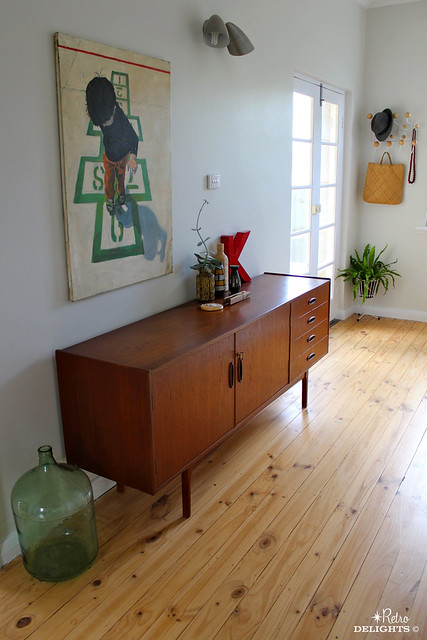 | ||
| Fler Teak Sideboard |
• Fler teak sideboard from Lou's Shed in Unley
• Painting by Artist Carey Potter
• Eames replica (sorry not original) hat/coat wall mounted rack
• Crazy looking plant from IKEA and plant stand a second hand find
• West German Vases from EBAY and North Adelaide Vintage & Fashion Fair
• Hoop artwork by Gretel Girl
• Giant peg from Hobart Museum shop
• Vintage glass bottle - my Mum found this at the dump before I was born. I used to roll around on it when I was a kid!
• Original 1950s wall light
• Wall painted in Dulux Pale Tendril Quarter
Toodle-pip!
I've just spent the past week pulling together a new brand and 4 websites for my partner in crime... Denis Smith - Photography Video and Media will officially be launched in the new year and we are feeling pretty excited about our new business adventure. Looks like I will be getting a bit of styling work and art direction on the side too which will be fun!
So where did I find my inspiration for this colour palette and logo? Of course it is retro/vintage inspired using the colours from the interiors image above. The organic shape resembles a retro TV and the traditional serif font adds a quirky contrast - kind of reminds me of a subtle yet modern take of the TV program "Get Smart".
Maybe this colour palette could be the inspiration for our design studio too!
Toodle-pip!

Tucked down a little side lane off Hindley Street you will find the sweetest gallery, tea house come magazine specialty store called Magazine Gallery! I'd heard so much about this place through my tea blender friend Cherie (from Scullery Made Tea), so when I saw the exhibition "Folk Art Fanfare" pop up in my new feed on Facebook, I was already there!
The exhibition was to feature the crafty skills of Adelaide's Yarn Bombers and their take on the modern tea cosy. I invited two lady friends who I knew would appreciate a display of handmade wooly sweaters for teapots to wear on cold evenings.
 |
| My Favourite "Pineapple Frenzy" |
 |
| Adorable - Sold with the teapot too! |
 |
| "Itsy bitsy, teeny weeny..." |
 |
| "Lamington" by my friend Kate |
 |
| Magazine Gallery "Folk Art Fanfare" Event |
Magazine Gallery
Clubhouse Lane
(Just off Hindley Street) Adelaide
(08) 8212 3773
Toodle-pip!
I was so thrilled when Fiona invited me for a visit to have a V.I.P. tour of what she refers to as "Her own
little version of Palm Springs in the Barossa!"
It is exciting to share with you this
amazing makeover, but first to fully appreciate the heart and soul that went into it, make sure you check out my previous post with the before photos here >
Saturday morning the perfect day for taking the 1 hour drive to the Barossa Valley from Adelaide. I woke up early eager to hit the road, as I was doubly excited to finally meet the lady behind this gorge property, and of course seeing it in the real!
Fiona has done an incredible job of creating space and light while retaining the original vibe of this 1950s abode. I think my photos pretty much tell the story - but basically there were lots of oooohhhs and aaaaahhhhhhs as I was shown around this amazing home.
So enjoy this little behind the scenes capture. (More photos can be found here too.) Also, rumor has it that Fiona is planning to rent the home out as a super stylie weekender. Yes please!!
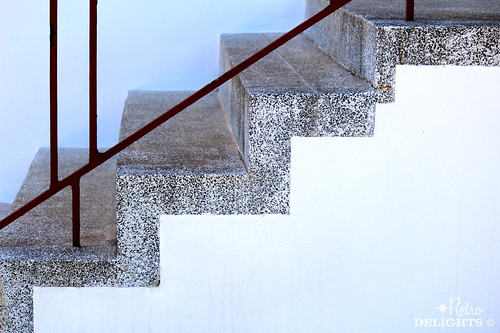 |
| Front stair detail |
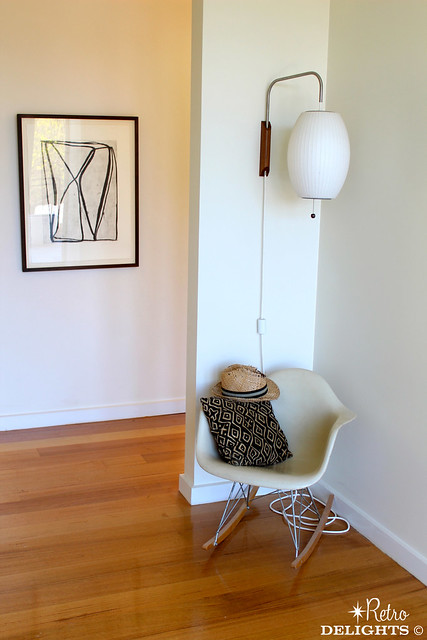 |
| Eames rocker and le klint lamp in the entrance |
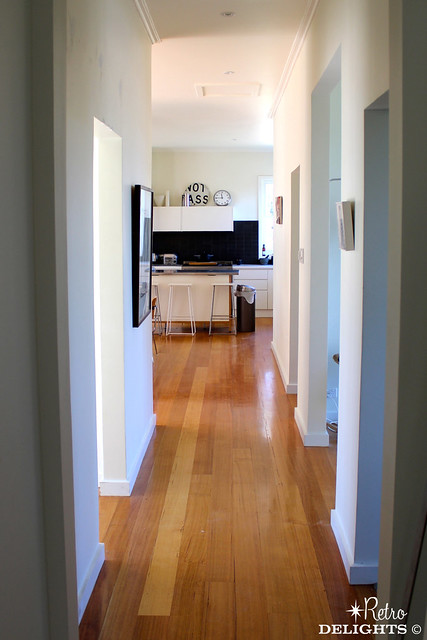 |
| New hardwood floors throughout the home |
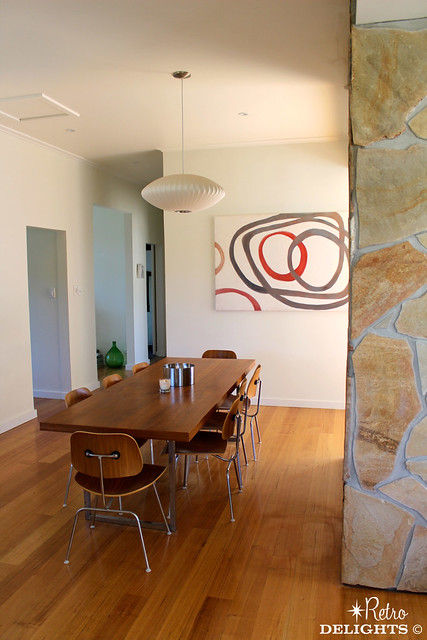 |
| The open plan dining area featuring an original George Nelson Light pendant |
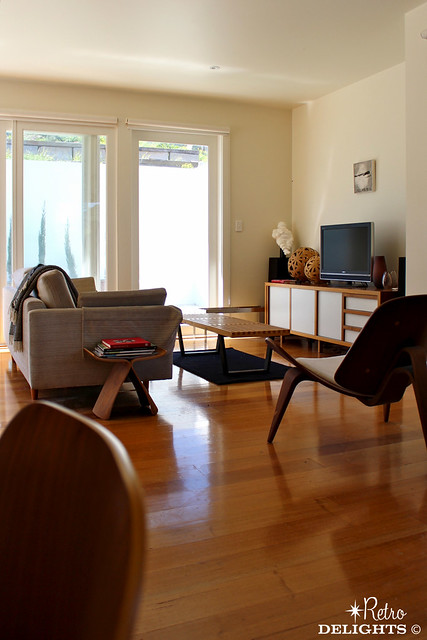 |
| Eames Chair and Nelson Bench from Living Edge. |
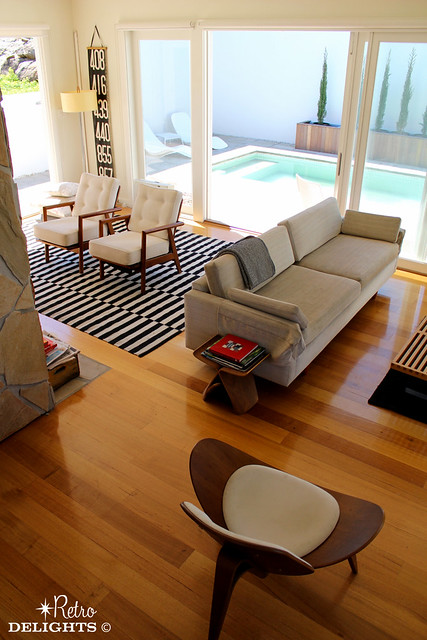 |
| Open plan living with amazing outlook to private courtyard with pool |
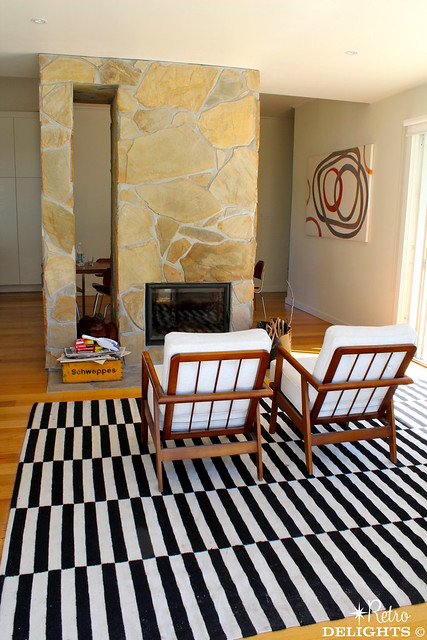 |
| Feature fireplace dividing the dining and sitting areas. |
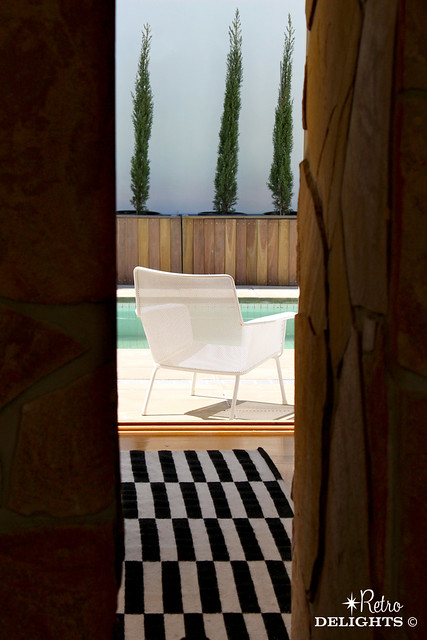 |
| Looking through the fireplace / feature stone wall. Chairs by Jamie Durie for BigW. |
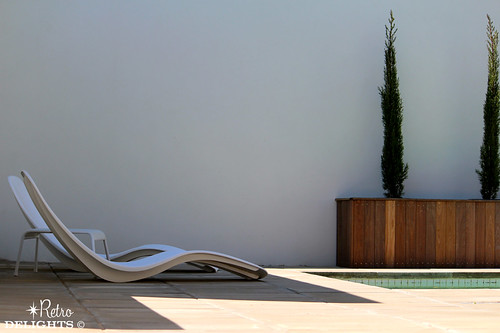 |
| Pool recliners from Bunnings! |
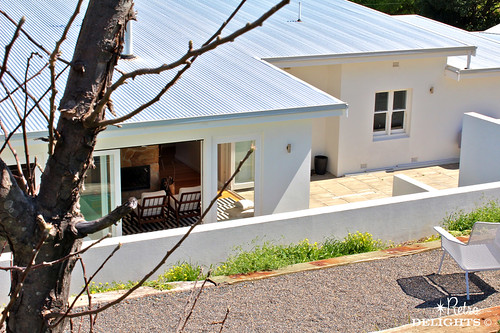 |
| Rear elevation from the terraced garden. |
There are many more photos from my dreamy visit... check them out here >
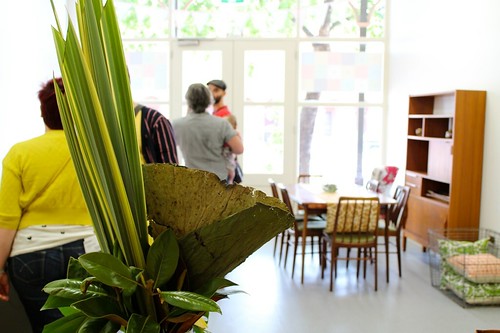 |
| Light and Bright Shop Space - just what we like! |
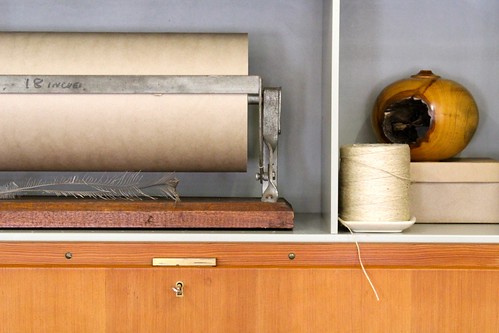 |
| Just some lovely details in the shop. I want that paper holder thingy! |
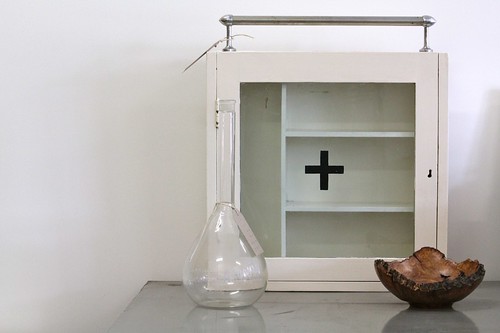 |
| 1950s Bathroom Cabinet (very tempting) |
My Modern Nest
Shop 7-8 / 202-204 St Vincent St
Port Adelaide SA 5015
Phone 0403 566 849
Email mymodernnest@gmail.com
Web mymodernnest.blogspot.com.au
Another one of my creations from the weekend. I wanted a bench seat to go in my hallway, but was struggling to find something that suited our home or wasn't too big.
So brainwave in the middle of the night... Use a floating shelf (that we already had) and add some cool retro legs (from a laminex coffee table I had in storage). Voila! How cutsie is this?
I am now on the hunt for LEGS!! If anyone has retro legs (including table legs) lying around their place, send them my way as I have heaps of other projects in my head that I would love to do. Off to scout hard rubbish! LOL!
Toodle-pip!
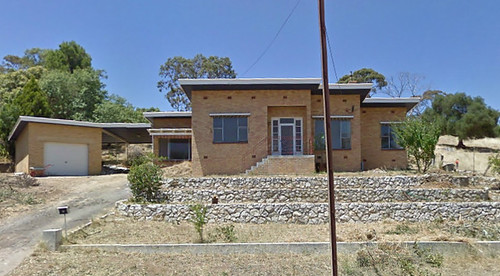 |
| Before |
Then one day when doing a drive by the home I noticed a bit of renovation activity going on. I thought to myself, I didn't see that advertised!! What's going on...Sad face! Having said that, I was pleased to see that the new owner was embracing this 1950s home and had obviously put alot of thought into its make over. Finally, it was being treated to the retro love it deserved!
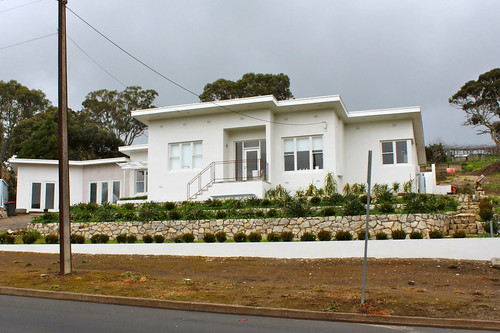 |
| After! |
So I am ecstatic to share with you this amazing makeover, but first to fully appreciate the heart and soul Fiona has put into it you must see some before photos!
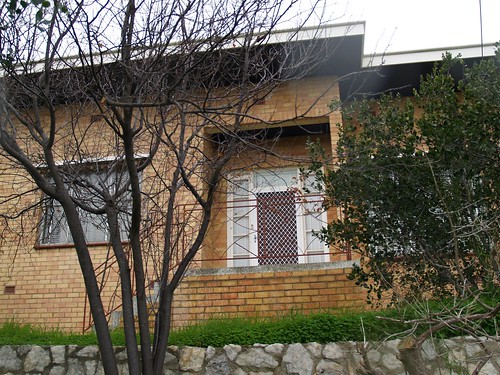 |
| Front elevation |
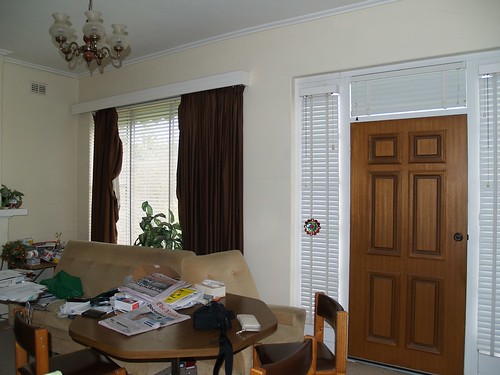 |
| Original entrance / lounge |
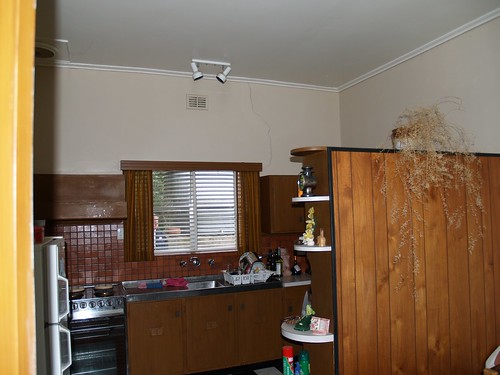 |
| Kitchen |
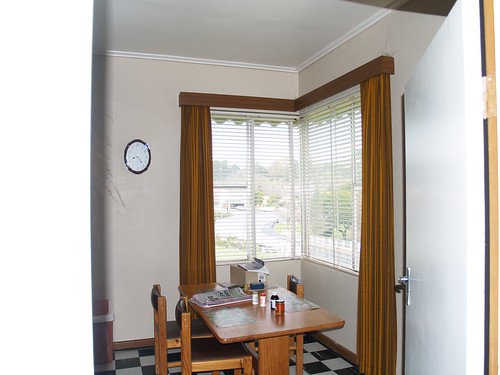 |
| Small dining room |
I'm from Sydney and had very little history with the Barossa, but fell in love with this vanilla brick nugget on the hill. The house was never for sale, it was a door knock/handshake deal.
Structurally my engineer-mate gave it the thumbs-up. But knowing I am a style Nazi thought I was certifiably mad! There was a lot of work to do!
What was your vision for the home when you bought it?
I have always loved Palm Springs architecture, and this is unapologetically my amateur attempt at it. The plan was to ensure every room has a view, and there is light everywhere. Which it does. It was all designed around the existing house bones and its very unique relationship with the landscape around it.
I designed the floor-plan and recruited a draftsman and overall it has been a hell of a journey. Most people suggested I knock it down, and all the tradesmen thought I was mad. It was so pokey, which it doesn't look like at all from the outside.
I didn't live in it while it was being renovated and extended – it was at least 18 months. That wasn't the original plan, but the Barossa and this house kept me going back for more! I had one builder and it all evolved very organically. We have worked together on it - the two of us on a crazy journey over two and a half years.
The landscaping was always important to me too. Lots of propagating succulents in the dark of night (with plenty of scars to show for it.) I have a dear friend who has always inspired me with desert landscapes - Will Dangar – he's brilliant.
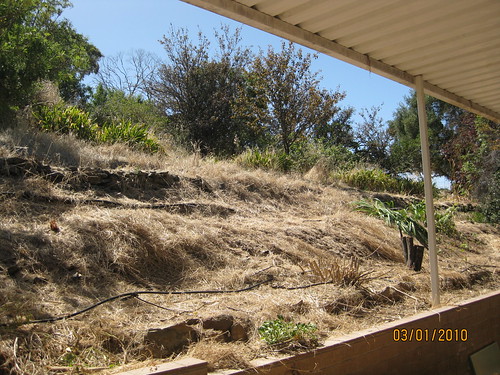 |
| Original back garden, basically a hill. A lot of dirt (and rock) to move to make room for the extension and pool! |
Simple answer: walls, roof and land. With that, most walls were removed, the roof was replaced and 213 truckloads of earth was excavated and removed. Heaps of fun! Why I didn't realise that buying a house down the road from a rock quarry meant the block was actually "rock" is something I simply put down to being blonde.
So sorry to say no original features, other than the most precious skillion roof (which I was also advised to lose).
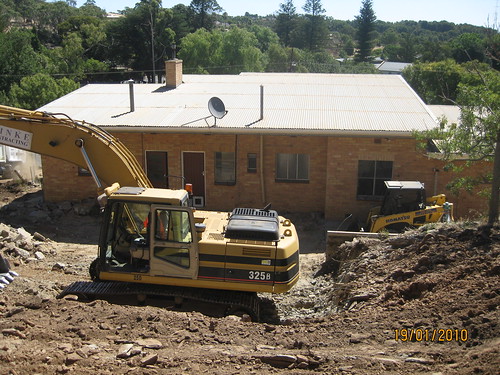 |
| Excavation begins... |
I found this useful 1950/1960s clothes rack on the side of the road last week. Sorry, but I forgot to take a 'before' photo prior to cleaning it... but basically it was showing signs of rust, probably from sitting outside for some time, and was pretty filthy too!
I just couldn't let this one go to landfill, so with a bit of elbow grease and sandpaper I was determined to bring a sparkle back to this beauty.
I simply covered the coloured plastic coated bars with paper to protect them from any over spray. Traditionally the frames were painted in a dark green, but I had a can of black paint lying around so thought that would do.
I am thrilled with the result. Almost as good as new. Quite a handy little fellow that folds down neatly. Looks like I will also be using it as a prop for a fabric / homewares photo shoot next month too! YAY!
Toodle-pip!
We are gearing up for another crazy day of house reno tomorrow. This time the hallway. Time to give it a facelift by removing the wallpaper and freshening it up with a lick of paint. I'm in the process of designing a new balustrade as well, but that will come later! Also weighing up if we do a feature wall of some sort on the stairwell side. Maybe a dark colour to help hide the door to the cloak cupboard under the stairs and the doors on the linen cupboard... Any ideas?


